



Laptop RAM Slot Failure Symptoms Guide
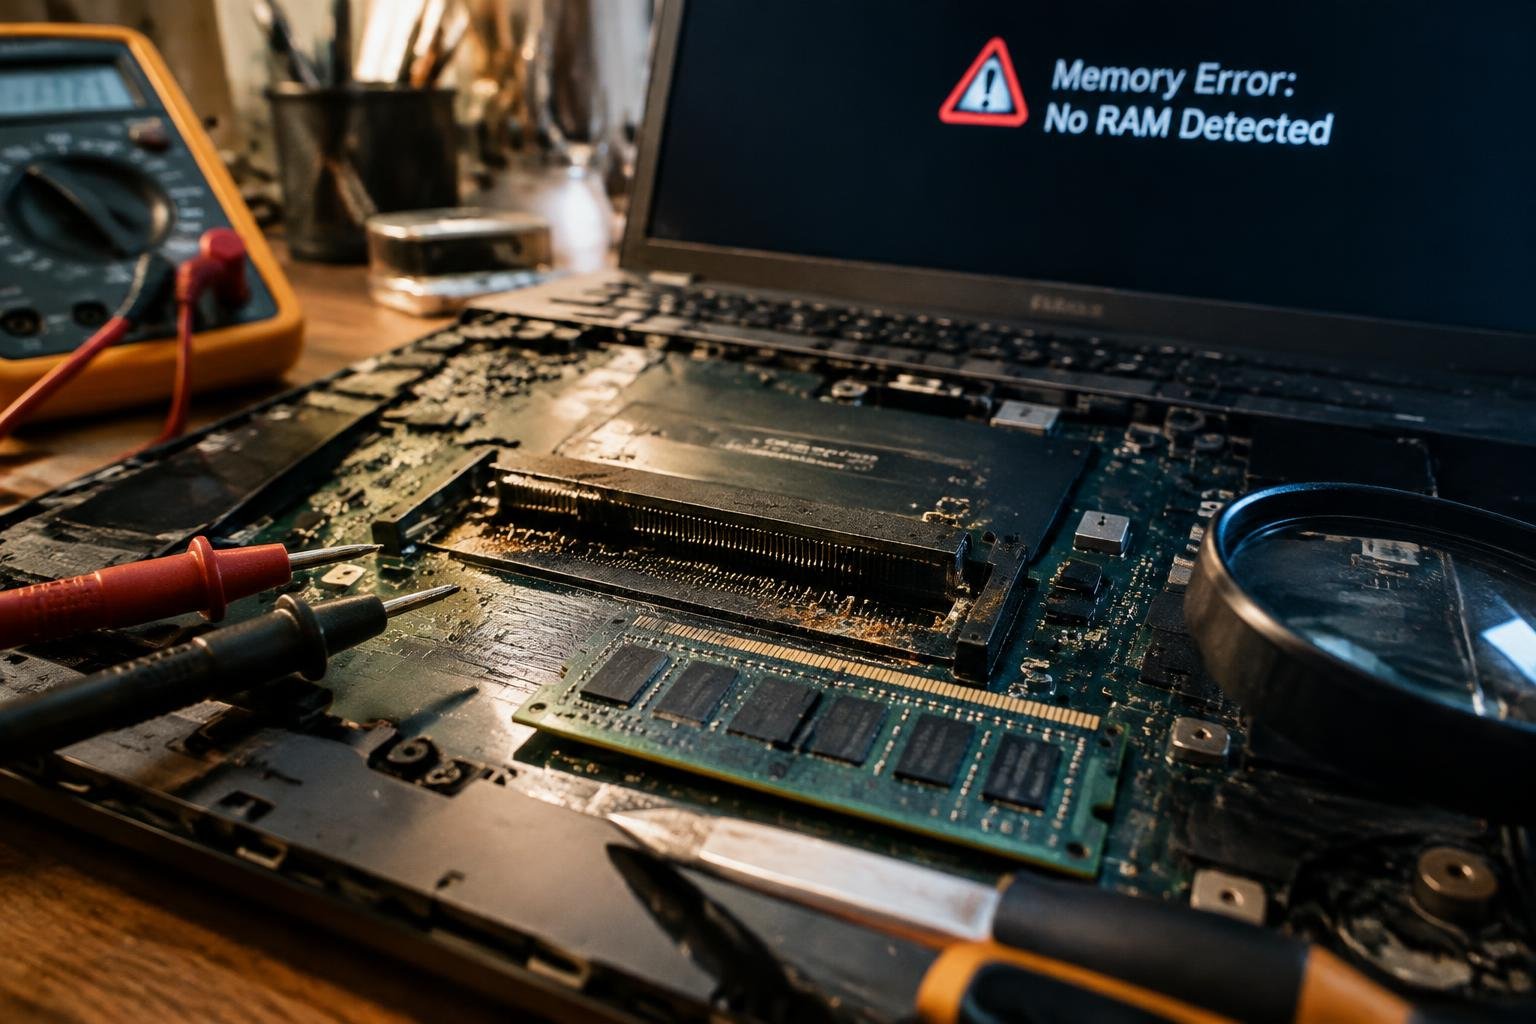
You notice your laptop freezing during simple tasks, failing to boot, or displaying memory errors despite having installed working RAM. These signs often point to a faulty RAM slot rather than the memory module itself. You may experience intermittent crashes, unrecognized memory, or blue screens that persist after troubleshooting software causes. Recognizing these symptoms early helps you diagnose the real issue and avoid unnecessary replacements. This guide walks you through the telltale signs of RAM slot failure and how to respond.
Key Takeaways:
- Laptop RAM slot failures often present as random system crashes, frequent blue screens, or failure to boot, especially when the issue arises after physical movement or recent hardware changes.
- Inconsistent memory detection-such as the operating system recognizing only one of two installed RAM sticks-can point directly to a faulty slot rather than defective memory modules.
- Burning smells near the RAM compartment or visible charring on the motherboard around the slot are strong indicators of electrical damage affecting the RAM connection.
- Intermittent performance drops during memory-intensive tasks may signal partial contact loss in a RAM slot, where connections degrade over time due to wear or debris accumulation.
- A single RAM stick working in one slot but not another on the same machine typically confirms a slot-specific problem, allowing users to isolate the fault without replacing functional components.
Identifying Types of System Instability
System instability caused by RAM slot failure often presents with distinct, repeatable symptoms that set it apart from software-related issues. You may notice your machine freezing during routine tasks, failing to restart properly, or displaying erratic behavior across applications. These are not isolated glitches but consistent failures pointing to hardware faults. A faulty RAM slot interrupts data flow between memory and motherboard, leading to abrupt crashes.
- Inconsistent boot sequences
- Applications closing unexpectedly
- Freezing during normal operations
- Random reboots without warning
- Failure to recognize installed RAM
| Failure Type | Observed Symptom |
| Intermittent Connection | Random system freezes |
| Complete Slot Failure | RAM not detected |
| Electrical Damage | BSOD with memory-related error codes |
| Oxidation or Corrosion | Partial memory recognition |
Recurring Blue Screen of Death Errors
You see the same error codes repeatedly, especially those referencing memory addresses or page faults. These crashes occur during normal usage, not just under heavy load, and often include messages like “IRQL_NOT_LESS_OR_EQUAL” or “MEMORY_MANAGEMENT.” Each crash dumps data to a log file, and if multiple logs point to RAM-related faults, the slot itself may be compromised. Replacing the module doesn’t fix the issue if the slot fails to maintain a stable connection.
Memory Diminishment in System Properties
Your system reports less RAM than physically installed, such as 4 GB appearing instead of 8 GB. This discrepancy points directly to a communication breakdown between the motherboard and memory module. Either one slot isn’t functioning or makes poor contact, causing the BIOS to ignore that portion of memory. You can confirm this by checking the System Properties window or using built-in diagnostics, where the shortfall remains consistent across reboots.
Environmental Factors of Hardware Degradation
External conditions play a direct role in the reliability of your laptop’s RAM slots over time. Exposure to fluctuating temperatures, humidity, and airborne contaminants introduces electrical instability that can compromise connection integrity. These environmental stressors degrade materials at the microscopic level, leading to intermittent failures that mimic software errors. You may notice unexpected shutdowns or memory detection issues even with fully functional RAM modules. Maintaining stable operating conditions helps mitigate these physical breakdowns.
- Prolonged exposure to high heat weakens solder joints on RAM slots
- Humid environments accelerate oxidation of contact points
- Dust and particulates create micro-conductive paths or block connections
- Repeated thermal expansion and contraction strain circuit board traces
- Altitude and static-prone dry air increase risk of electrostatic damage
Heat-Induced Solder Fatigue
Constant exposure to elevated temperatures causes the solder anchoring your RAM slot to expand and contract, gradually weakening its structural integrity. Over time, this thermal cycling leads to microscopic cracks that disrupt electrical continuity. You might experience sporadic memory errors or complete slot failure, particularly after extended use. High-performance tasks that push CPU and GPU loads worsen this effect, as heat spreads across the motherboard. Cooling alone won’t reverse existing damage but can slow further deterioration.
Accumulation of Micro-Debris and Oxidation
Tiny particles from everyday environments-like dust, skin flakes, or fabric fibers-settle into the RAM slot over time, interfering with module contact. In humid conditions, these contaminants retain moisture, accelerating oxidation on metal surfaces. You may see increased error rates or failure to boot as conductivity diminishes. Even minor corrosion alters resistance levels enough to disrupt signal transmission. Regular cleaning with compressed air and storage in low-humidity areas reduces the likelihood of such buildup.
Step-by-Step Diagnostic Procedures
To confirm whether a RAM slot is failing, follow a structured approach that isolates variables and identifies the root cause without unnecessary component replacement. Begin with non-invasive software checks before moving to physical testing. Each step eliminates potential false positives, ensuring you accurately pinpoint slot-related faults. Use consistent methodology across tests to maintain reliability in results, especially when dealing with intermittent errors that may not appear during every boot cycle.
| Diagnostic Method | Action Steps |
| Windows Memory Diagnostics | Run built-in tool via search bar; restart for immediate scan or schedule it; review error report after reboot. |
| Manual RAM Swapping | Power down laptop; remove back panel; extract RAM modules; test each stick in different slots individually. |
Utilizing Built-in Windows Memory Diagnostics
You can access Windows Memory Diagnostics by typing “Windows Memory Diagnostic” into the taskbar search and pressing enter. Choose to restart the system immediately for the test to begin. The utility scans your RAM under low-level operations during boot, checking for read/write failures and addressing inconsistencies. If errors appear, they may point to faulty memory modules or defective slots, especially if the same issue persists across multiple tests with different sticks in the same slot.
Manual Component Isolation and Swapping
Start by powering off your laptop completely and disconnecting the charger. Open the access panel to expose the RAM slots and carefully remove both memory sticks. Insert one module into the first slot and boot the system, noting stability and performance. Repeat this process using only the second slot. Switch modules and repeat the sequence. Consistent failure in one specific slot regardless of the RAM used strongly indicates a hardware fault within that slot itself.
Pros and Cons of Component Repair
Repairing a failed RAM
Essential Tips for Hardware Longevity
Protecting your laptop’s RAM slots starts with consistent, thoughtful maintenance. Dust and debris accumulation can corrode contact pins over time, so regular cleaning using proper methods is essential. Always power down and unplug your device before any intervention. Handle internal components with care, using anti-static precautions to avoid damaging sensitive circuitry. Follow these practices to significantly reduce the risk of socket failure and extend your system’s reliable operation.
- Always ground yourself before touching internal components
- Use compressed air to remove dust from ports and slots
- Avoid using metal tools near contact pins
- Keep your laptop in a low-humidity environment
- Refrain from frequent RAM swapping unless necessary
Correct Cleaning Protocols for Contact Pins
Keeping RAM contact pins clean prevents poor connections and long-term socket damage. Turn off and unplug your laptop completely before starting. Use a can of compressed air to gently dislodge dust from the slot. For stubborn residue, lightly dampen a cotton swab with 99% isopropyl alcohol and carefully wipe the pins without bending them. Let the area dry fully before reinserting any modules. Avoid abrasive materials or excessive pressure during cleaning.
Optimal Airflow Management Strategies
Proper ventilation keeps internal temperatures in a safe range, reducing stress on RAM slots and other components. Place your laptop on hard, flat surfaces to allow unrestricted airflow through intake vents. Never block exhaust ports or use the device on soft materials like beds or couches. Clean intake grills regularly to prevent dust buildup. Consider using a cooling pad in high-temperature environments to maintain consistent thermal performance and protect socket integrity over time.
Summing up
You now have a clear understanding of the signs pointing to laptop RAM slot failure, from frequent blue screens to unrecognized memory after boot. Recognizing these symptoms early allows you to take targeted action before data loss or system collapse occurs. You’ve learned how to distinguish slot issues from faulty modules and when to attempt repairs versus seeking professional service. By applying systematic diagnostics and handling hardware with care, you protect both your device’s performance and your productivity over time.
FAQ
how much does it cost to repair a laptop ram slot?
Professional RAM slot repair typically costs between $100 and $250, depending on labor rates and motherboard complexity. Some shops may charge more if component replacement or reflowing is needed, and very damaged boards might not be worth fixing compared to upgrading the device.
can i use my laptop with one ram slot not working?
Yes, you can use your laptop with one faulty RAM slot as long as at least one stick is properly detected. Performance depends on total installed memory and whether the system runs in dual-channel mode, which may be downgraded if only one slot is active.
how long does it take to diagnose ram slot problems?
Diagnosing RAM slot issues usually takes 30 minutes to two hours, depending on the tools used and experience level. Built-in diagnostics like Windows Memory Diagnostic run quickly, but manual testing with different sticks and slots adds time.
what are common mistakes when trying to fix ram slots?
Common mistakes include applying excessive force when inserting memory sticks and using improper tools during cleaning or soldering. These can permanently damage the socket or traces on the motherboard, especially on thin ultrabook circuit boards.
is upgrading ram better than repairing a failed slot?
Upgrading RAM is often more practical than repairing a failed slot, especially if the laptop supports sufficient memory in the remaining working slot. However, if maximum capacity is already reached or the motherboard limits future upgrades, repair might extend usability for specific use cases.
 Previous Post