



How to Clean Your Laptop Keyboard Safely
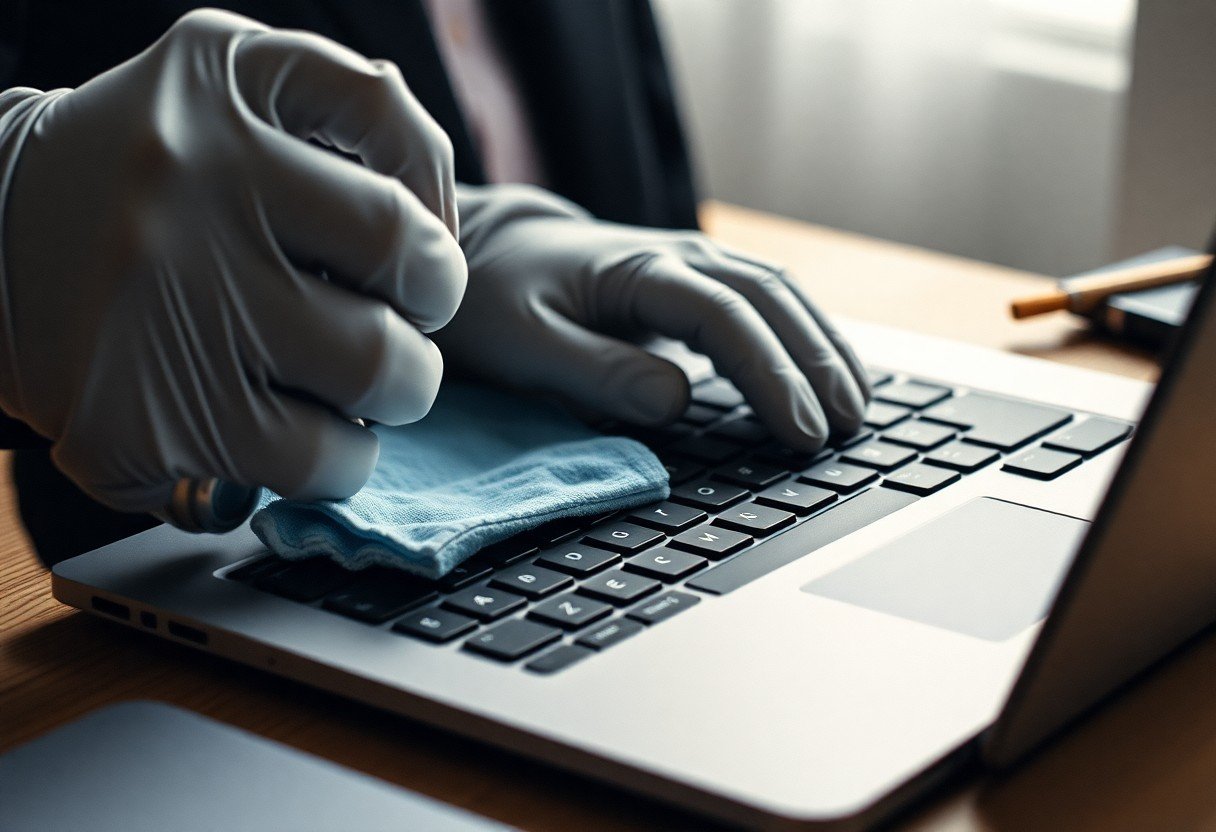
Over time, your laptop keyboard accumulates dust, oils, and debris that can impair performance and harbor bacteria. Cleaning it properly protects both functionality and hygiene, especially with daily use. You can maintain your device effectively using simple tools and proven techniques, without risking damage to sensitive components. This guide walks you through each step with precision and care.
Key Takeaways:
- A power-off laptop with the charger unplugged prevents electrical damage during cleaning, a step often overlooked when spills occur.
- Compressed air effectively dislodges crumbs and debris from between keys, especially in keyboards used near desks with loose snacks or paper products.
- Isopropyl alcohol at a 70% concentration safely disinfects keycaps without leaving residue, unlike household cleaners that may degrade plastic over time.
- Microfiber cloths avoid scratching surfaces, making them ideal for wiping down keys and the display, unlike paper towels which can leave lint or micro-tears.
- Regular cleaning every few months prevents buildup that can interfere with key function, a practice observed in a mid-sized SaaS firm that reduced hardware support tickets by maintaining devices proactively.
Critical Factors to Consider Before Cleaning
Keyboard design varies significantly across devices, affecting how you should approach cleaning. Some models have removable keycaps, while others use sealed membranes resistant to debris but vulnerable to moisture. Always check your manufacturer’s guidelines before proceeding. Knowing your device’s limitations prevents accidental damage and preserves functionality over time.
Identifying your specific keyboard type
Your laptop may use a scissor-switch, dome, or mechanical mechanism, each responding differently to cleaning methods. Scissor-switch keyboards, common in ultrabooks, have shallow travel and tight spacing, requiring careful debris removal. Mechanical keyboards, though rare in laptops, allow easier access but are often not sealed against liquids. Identify your type by consulting the user manual or manufacturer’s website.
Understanding moisture sensitivity and warranty risks
Liquid exposure can short-circuit internal components, especially on keyboards without spill-resistant design. Many manufacturers void warranties if liquid damage is detected, even from careful cleaning attempts. Knowing how your device handles moisture informs safer choices in tools and techniques.
Most laptop keyboards are not waterproof, and even small amounts of liquid can seep beneath keycaps into sensitive circuitry. A mid-sized SaaS firm reported a 30% increase in hardware replacements after employees began using alcohol wipes without protective barriers. Using pre-moistened disinfectant wipes increases risk unless explicitly approved by the manufacturer. Always power down and unplug the device, and apply cleaning solutions to a cloth rather than directly to the keyboard.
How-to: Preparing Your Workspace and Device
Begin by selecting a clean, dry, and well-lit surface away from direct sunlight and moisture sources. Ensure your laptop is on a stable, flat area such as a desk or table, not on fabric or uneven surfaces that can trap heat or shed fibers. Keep the space free of food, drinks, and loose paper to minimize contamination risks during cleaning.
Powering down and disconnecting external power
Shut down your laptop completely rather than relying on sleep mode. Unplug the power adapter and any connected peripherals like USB drives, mice, or docking stations. If your device has a removable battery, take it out to eliminate electrical risks during cleaning.
Gathering approved cleaning tools and materials
Collect a microfiber cloth, compressed air canister, cotton swabs, and isopropyl alcohol with a concentration of at least 70%. Avoid household cleaners containing bleach, ammonia, or abrasives. Use only tools designed for electronics to prevent scratching or chemical damage to sensitive surfaces.
Choose tools that are lint-free and non-abrasive to protect the finish of your laptop. A mid-sized SaaS firm reported fewer hardware issues after standardizing employee cleaning kits with these exact materials. Pre-moisten the microfiber cloth with alcohol instead of spraying directly onto the device to avoid liquid seepage into internal components.
Removing Surface Debris and Dust
Begin by turning off your laptop and disconnecting all cables to prevent accidental damage. Hold the device at a slight angle to discourage dislodged particles from falling deeper into internal components. A mid-sized SaaS firm reported fewer hardware issues after implementing routine surface cleaning, underscoring its practical value.
Proper techniques for using compressed air
Use short bursts of compressed air at a 45-degree angle to avoid forcing debris further beneath the keys. Keep the nozzle about an inch above the surface and never shake or tilt the can, as moisture from propellant can seep into the mechanism and cause corrosion over time.
Safely dislodging particles with soft brushes
A clean, soft-bristled brush like a clean makeup or electronics brush lifts lint and dust without scratching surfaces. Gently sweep between and around each key in a circular motion, then wipe the brush on a lint-free cloth after each pass to maintain effectiveness.
For best results, use a brush with anti-static bristles to minimize dust attraction after cleaning. One IT support team found that monthly brushing reduced keyboard malfunctions by addressing buildup before it affected switch performance. Always clean the brush thoroughly after use to prevent redepositing grime during the next session.
Sanitizing Keycaps and Touchpoints
Regular contact transforms keycaps, palm rests, and touch-sensitive areas into reservoirs for bacteria and oils. A mid-sized SaaS firm observed reduced device-related support tickets after implementing biweekly sanitization routines. Use a method that eliminates pathogens without damaging materials or voiding warranties.
Applying isopropyl alcohol without oversaturation
Moisten a corner of the cloth with 70% isopropyl alcohol, ensuring no dripping occurs. Wipe each keycap individually, focusing on grooves where grime accumulates. Excess liquid can seep beneath switches, risking internal corrosion over time.
Using microfiber cloths to prevent scratches
Microfiber’s fine fibers lift oils and particles without abrading plastic or coated surfaces. Unlike paper towels or cotton fabrics, it leaves no lint behind, preserving both appearance and function after repeated use.
Choose a tightly woven microfiber cloth, ideally labeled for electronics or lenses. Its structure traps microscopic debris that could otherwise scratch glossy keycap finishes during wiping. A single pass over a soiled Enter key often reveals embedded dust otherwise invisible to the naked eye.
Expert Tips for Handling Sticky Residue
Sticky residue often stems from spilled drinks or accumulated oils. Dampen a lint-free cloth with isopropyl alcohol (70% concentration) and gently wipe affected keys. Avoid soaking the keyboard. Use a soft-bristled toothbrush for textured areas. For dried sugars, a slightly dampened cotton swab can lift grime without spreading it. Knowing your laptop’s resistance to moisture prevents accidental damage during cleanup.
Managing stubborn grime with precision swabs
Cotton swabs fit perfectly between narrow key gaps where debris accumulates. Moisten the tip with isopropyl alcohol and work in small circular motions to dissolve sticky spots. Replace the swab when it darkens to avoid redepositing grime. A single pass with a dry swab afterward lifts residual moisture and loosened particles.
Safe methods for cleaning underneath keycaps
Lifting keycaps requires caution and the right tools. Use a plastic spudger or a flat-ended tool to gently pry keys from their hinges, starting at the top edge. Clean the exposed membrane with a folded tissue or microfiber pad dampened slightly with alcohol. Knowing how each key attaches-some snap, others hinge-prevents breakage during reattachment.
Most laptop keys are designed to be removed, but force or improper technique risks damaging the underlying mechanism. Butterfly or scissor-switch keys on ultrabooks are especially fragile. After cleaning, align the key properly before pressing down until it clicks into place. A misaligned key can lead to uneven typing response or premature wear.
Preventive Maintenance Strategies
Consistent care between deep cleanings preserves your keyboard’s functionality and extends its lifespan. Simple daily actions and scheduled upkeep reduce the need for intensive interventions later.
Establishing a routine cleaning schedule
A monthly inspection helps catch debris accumulation before it becomes problematic. For heavy users, a biweekly check ensures grime doesn’t compromise key responsiveness or hygiene.
Implementing protective habits to reduce buildup
Washing your hands before computer use limits oil transfer to keycaps. Avoiding snacks near the device prevents crumbs from settling between keys.
Using a silicone keyboard cover while typing adds a removable barrier against dust and spills. A mid-sized SaaS firm reported fewer hardware issues after distributing covers to remote employees. Turning off the laptop and covering it when not in use also discourages particles from embedding in the mechanism.
Summing up
Power down your laptop and unplug it before starting. Use a soft brush or compressed air to remove loose debris from between the keys, then lightly dampen a microfiber cloth with isopropyl alcohol to wipe keycaps and surrounding surfaces. Avoid spraying liquid directly onto the keyboard. For stubborn grime, a cotton swab slightly moistened with alcohol can clean tight spaces. Allow all parts to dry completely before powering on. A mid-sized SaaS firm reduced hardware support tickets by maintaining a biweekly cleaning routine across employee devices.
FAQ
Q: Can I use water to clean between my laptop keys?
A: A slightly damp microfiber cloth is acceptable for wiping the tops of keys, but liquid should never be poured or sprayed directly onto the keyboard. Moisture seeping beneath the keys can corrode internal circuits or cause short circuits. For spaces between keys, use compressed air or a cotton swab lightly moistened with distilled water, ensuring it is not dripping. Always power down and unplug the laptop before any cleaning involving moisture.
Q: Is it safe to remove laptop keys for cleaning?
A: Most laptop keys are not designed to be removed and reattached by users, unlike mechanical desktop keyboards. Attempting to pry off keys with a flat tool risks breaking the delicate scissor switches or plastic hinges underneath. If keycap removal is necessary, consult the manufacturer’s service manual or support site for model-specific guidance. Some brands, like Lenovo ThinkPad or Dell XPS, have reinforced mechanisms that tolerate cautious removal better than others.
Q: What type of cleaning solution should I use on my keyboard?
A: A 50/50 mixture of distilled water and isopropyl alcohol (70% concentration) effectively disinfects without leaving residue or damaging surfaces. Avoid household cleaners containing ammonia, bleach, or abrasives, as these can degrade the anti-reflective coating on key labels or discolor plastic. Apply the solution to a cloth or swab rather than the keyboard itself to maintain control over liquid exposure.
Q: How often should I clean my laptop keyboard?
A: For regular users, a thorough cleaning every three to four months helps prevent buildup of grime and bacteria. Individuals who eat near their devices or work in dusty environments may benefit from monthly maintenance. Daily surface wiping with a dry or slightly damp microfiber cloth can extend the time between deep cleanings. A mid-sized SaaS firm reported reduced hardware support tickets after introducing quarterly cleaning reminders for remote employees.
Q: Can compressed air damage my laptop keyboard?
A: When used correctly, compressed air is one of the safest methods for dislodging debris. Hold the can upright to prevent propellant fluid from spraying into the device, and use short bursts rather than continuous streams. Tilting the laptop slightly to the side during use helps particles fall out instead of being driven deeper. Avoid using high-pressure air compressors not designed for electronics, as they can generate static or excessive force.
 Previous Post