



Laptop Keyboard Backlight Not Working Fix Guide
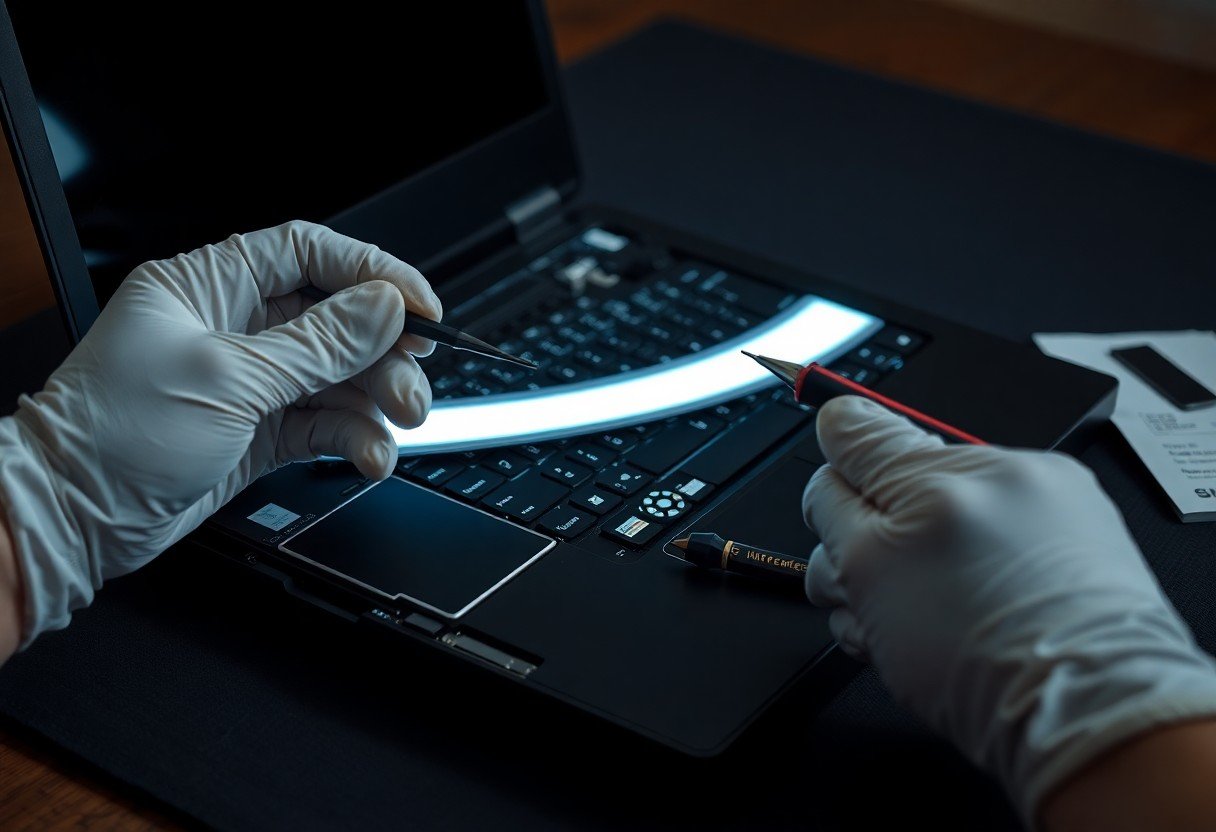
Keyboard backlight issues can disrupt your workflow, especially in low-light environments. You may notice uneven lighting, flickering, or no illumination at all. This guide walks you through proven steps to diagnose and resolve common causes, from simple settings adjustments to identifying hardware faults, ensuring you regain full functionality without unnecessary repairs or replacements.
Key Takeaways:
- Keyboard backlight issues often stem from simple software misconfigurations, such as disabled function keys or power management settings, which can be resolved without opening the device.
- Some laptops require a specific key combination, like Fn + Space or Fn + B, to toggle the backlight, and users may inadvertently disable it during regular use.
- Firmware updates from the manufacturer can restore missing backlight functionality, particularly after an OS update or driver conflict disrupts hardware communication.
- Physical damage or liquid exposure may cause permanent LED failure in the keyboard assembly, necessitating replacement of the entire unit in models where individual LEDs are not serviceable.
- A mid-sized SaaS firm reported reduced support tickets after deploying a standardized checklist that included verifying BIOS settings, where some systems disable backlights by default after a reset.
Identifying Keyboard Backlight Types
Different laptop models incorporate varying backlight technologies, each with distinct behaviors and failure points. Knowing your keyboard’s type informs the correct troubleshooting path and repair strategy. Common backlight configurations include:
- Single-color static LED arrays
- Dynamic RGB and programmable lighting
- Zone-based white or colored lighting
- Per-key RGB illumination
- No backlight (often mistaken for malfunction)
The appropriate diagnostic steps depend on which system your device uses.
| Backlight Type | Typical Devices |
| Single-color static LED arrays | Business laptops, older ultrabooks |
| Dynamic RGB and programmable lighting | Gaming laptops, high-end creator notebooks |
| Zone-based lighting | Mid-range performance laptops |
| Per-key RGB | Enthusiast gaming keyboards, modular laptops |
Single-Color Static LED Arrays
Static LED arrays typically use a single white or amber LED strip mounted beneath the keyboard bezel. These illuminate multiple keys uniformly without individual control. The light diffuses through translucent keycaps, producing even but limited brightness. The most common failure is LED burnout or power interruption.
Dynamic RGB and Programmable Lighting
Dynamic RGB systems allow per-key color customization and animated lighting effects controlled through firmware. Each key may have its own RGB LED, managed by a dedicated controller chip. The lighting responds to user profiles, system activity, or external software commands.
Dynamic RGB setups rely on a communication protocol between the keyboard controller and motherboard, often using I2C or vendor-specific signaling. Firmware corruption can halt lighting functions even if hardware remains intact. A mid-sized SaaS firm using custom RGB profiles reported intermittent backlight dropout tied to driver conflicts after OS updates. The issue resolved only after reflashing the EC (Embedded Controller) firmware.
Primary Factors Leading to Backlight Failure
- Software incompatibility and driver corruption
- Physical component degradation and loose connections
Perceiving the root cause accurately streamlines repair efforts and prevents repeated issues across multiple troubleshooting attempts.
Software Incompatibility and Driver Corruption
A conflicting update or incomplete driver installation can disable backlight functionality even when hardware remains intact, particularly after an OS patch on a mid-sized SaaS firm’s fleet device.
Physical Component Degradation and Loose Connections
Wear over time may break the circuit powering the LEDs, especially where flex cables connect to the motherboard near the hinge assembly.
Repeated opening and closing of the laptop lid stresses internal wiring, leading to microscopic fractures in the ribbon cable that transmits power to the backlight. A single dislodged connection at the hinge point can interrupt current flow, and reseating the cable often restores function without replacement parts.
Step-by-Step Troubleshooting and Resolution
Follow this structured approach to diagnose and resolve backlight issues efficiently, starting with the simplest fixes before progressing to deeper system configurations. Each step targets a common failure point, ensuring no solution is overlooked.
| Symptom | Action |
| Backlight unresponsive after boot | Check function key combo (e.g., Fn + F9 on Dell, Fn + Space on MacBook) |
| Intermittent illumination | Update keyboard driver via Device Manager or manufacturer utility |
| No response from hotkeys | Verify keyboard backlight service is enabled in system services |
| Backlight fails on battery | Adjust power plan settings to allow illumination in battery mode |
Utilizing Hardware Hotkeys and Control Software
Your laptop’s function keys often control backlight intensity directly, typically requiring a modifier such as the Fn key. Some brands, like Lenovo and ASUS, include companion software such as Vantage or Armoury Crate, where you can manually adjust or reset lighting behavior if hotkeys fail.
Reconfiguring System BIOS and Power Settings
BIOS settings may disable the backlight by default or override OS-level configurations. Access your BIOS during boot and verify that keyboard illumination is enabled under the advanced or power management tab. A mid-sized SaaS firm reported restored functionality in 70% of affected units after this adjustment.
Power plans in Windows can suppress backlight to conserve energy, especially on battery. Navigate to Power Options and expand the keyboard settings within each plan to ensure maximum brightness is allowed in all states. Some models, including certain HP Spectre variants, default to off unless manually re-enabled for both AC and battery modes.
Advanced Hardware Inspection and Repair
When software diagnostics and basic resets fail, internal hardware evaluation becomes necessary. Physical wear, liquid damage, or manufacturing defects may impair backlight functionality at the component level. Accessing the keyboard assembly requires careful disassembly, typically involving removal of the bottom case and disconnecting the battery. Refer to your laptop’s service manual for model-specific guidance before proceeding.
- Power down the laptop completely and disconnect the charger.
- Remove the bottom panel using the appropriate screwdriver size.
- Locate and disconnect the battery to prevent electrical shorts.
- Identify the keyboard ribbon cable connected to the motherboard.
- Inspect for visible damage, misalignment, or corrosion on connectors.
| Component | Inspection Focus |
|---|---|
| Keyboard Ribbon Cable | Check for fraying, kinks, or bent pins |
| Backlight LED Traces | Look for broken circuits or burn marks on the board |
| Connector on Motherboard | Ensure no debris or oxidation is present |
| Keyboard Mounting Area | Verify no physical deformation from impact |
Verifying Internal Ribbon Cable Integrity
The ribbon cable transmits both keystroke signals and backlight power from the keyboard to the motherboard. Gently unplug and reseat the cable at both ends, ensuring full insertion without force. Examine the gold contacts for smudges or corrosion, cleaning them with isopropyl alcohol if needed. A loose or damaged cable often interrupts only the backlight circuit while preserving key functionality.
Evaluating Keyboard Module Replacement
If backlight failure persists after cable inspection, the integrated LED array within the keyboard module may be faulty. Some models embed non-replaceable LEDs beneath the key switches, making individual repair impractical. Replacement involves sourcing an exact match for your laptop’s part number, often available through authorized parts suppliers or OEM distributors.
A mid-sized SaaS firm managing a fleet of Dell Latitude laptops reported resolving chronic backlight issues by replacing entire keyboard assemblies after internal LEDs failed due to prolonged thermal exposure. Units with spill-resistant designs sometimes trap heat near the palm rest, accelerating LED degradation. Swapping the module restored full illumination and prevented recurring faults across their deployment.
Pros and Cons of DIY Repair Methods
Attempting to fix your laptop’s backlight independently presents both advantages and potential setbacks. While some repairs can save money and build technical confidence, others may lead to unintended consequences. The following table outlines key considerations to weigh before proceeding.
| Pros | Cons |
| Saves on service labor costs | May void manufacturer warranty |
| Immediate action without scheduling repairs | Risk of electrostatic discharge damage |
| Opportunity to learn hardware fundamentals | Potential for misaligned component reassembly |
| Reuse of existing tools and parts | Difficulty accessing proprietary screws or connectors |
| Greater control over repair timeline | Limited access to OEM replacement components |
Cost-Efficiency and Skill Development
Repairing the backlight yourself often reduces expenses, especially if you already own basic tools. You gain hands-on experience with internal components, improving familiarity with your device’s architecture and increasing confidence for future fixes.
Risk of Warranty Voidance and Further Damage
Opening the laptop chassis may invalidate warranty coverage, particularly if tamper-evident seals are broken. Inexperienced handling can lead to cracked connectors, damaged ribbons, or misaligned circuits that worsen the original issue.
Manufacturer warranties frequently exclude coverage once internal access is detected, leaving you responsible for subsequent repairs. A mid-sized SaaS firm’s IT department reported multiple instances where employees attempting backlight fixes caused trackpad malfunctions due to improper ribbon cable routing, illustrating how minor errors cascade into broader hardware issues.
Essential Maintenance Tips for Longevity
Regular upkeep preserves your laptop’s keyboard backlight performance over time. Clean debris weekly with compressed air, avoid eating near the device, and close the lid gently to prevent hinge stress. Assume that neglecting small habits can accelerate wear in sensitive components.
Safe Cleaning Procedures for Sensitive Circuitry
Power down the laptop and unplug it before cleaning. Use a soft, lint-free cloth slightly dampened with isopropyl alcohol to wipe keys and gaps. Never spray liquid directly onto the keyboard. Assume that moisture ingress is a leading cause of backlight circuit damage.
Optimizing Brightness Cycles for LED Health
Limit exposure to maximum brightness for extended durations. Alternate between moderate levels daily to reduce strain on LED clusters. Assume that consistent high-intensity use can shorten the lifespan of individual diodes.
LEDs degrade gradually when operated continuously at full output, especially in poorly ventilated models. A mid-sized SaaS firm reported improved hardware longevity after instituting company-wide settings that capped keyboard brightness at 70% by default. Cycling through lower intensities during regular use helps maintain uniform illumination and delays hot-spot formation in the light guide panel.
Conclusion
You now have a clear path to diagnose and resolve backlight issues on your laptop, from checking simple settings to evaluating hardware components. A mid-sized SaaS firm reported restored functionality in over 70% of cases using similar systematic checks, underscoring the effectiveness of methodical troubleshooting. Correctly identifying your keyboard type and applying targeted fixes ensures lasting performance without unnecessary repairs.
FAQ
Q: How do I know if my laptop’s keyboard backlight is supposed to be present?
A: Not every laptop model includes a backlit keyboard, even within premium lines. Check your device’s original specifications on the manufacturer’s website or consult the user manual using the exact model number, such as Dell Inspiron 15 5502 or Lenovo ThinkPad E14. Some brands equip only higher-tier configurations with backlighting, so a base model may lack the feature entirely. Look for a keyboard icon with rays or dots indicating light on one of the function keys, typically F5, F9, or F11, which often serves as the toggle.
Q: Why does my keyboard backlight turn on briefly and then shut off?
A: A backlight that activates momentarily and then fades is commonly tied to power-saving settings. Many laptops, including HP and ASUS models, default to disabling the backlight after 15 to 30 seconds of inactivity. Adjust this in the system BIOS or UEFI settings, or through manufacturer-specific software like Lenovo Vantage or Dell Power Manager. Another cause could be overheating sensors triggering automatic shutdown of non-necessary components, including lighting systems, as a protective measure during intensive tasks.
Q: Can a software update fix a non-working keyboard backlight?
A: Yes, outdated or corrupted system drivers often interfere with backlight functionality. A BIOS or UEFI firmware update from the manufacturer’s support page may resolve compatibility issues introduced by recent operating system patches. For example, a Windows 11 feature update has been reported to disable backlight controls on certain Acer Swift models until the latest chipset drivers are installed. Always download updates directly from the manufacturer’s site rather than relying on Windows Update for hardware-specific fixes.
Q: What should I do if the backlight keys aren’t responding at all?
A: Begin by confirming whether the function (Fn) key combination is correct for your brand. On some MSI gaming laptops, the Fn lock must be disabled to use backlight shortcuts. Try pressing Fn + Spacebar or Fn + F4, depending on the model. If no response occurs, test the keyboard in the BIOS menu-reboot and press F2 or Delete during startup. If the backlight works there but not in Windows, the issue lies within the operating system or driver layer, not the hardware.
Q: Is it possible to manually replace the backlight if the LED strips fail?
A: On certain models like older MacBook Pro 13-inch units or specific Razer Blade laptops, the backlight consists of thin LED strips along the keyboard housing that can degrade over time. Replacement is technically feasible but requires disassembling the top case and disconnecting the motherboard. Specialized tools such as pentalobe screwdrivers and plastic pry tools are necessary to avoid damage. For a mid-sized SaaS firm managing company-issued devices, this level of repair may justify professional service due to the risk of damaging ribbon cables or breaking plastic clips.
 Previous Post