



Laptop Screen Black but Keyboard Lights On Fix
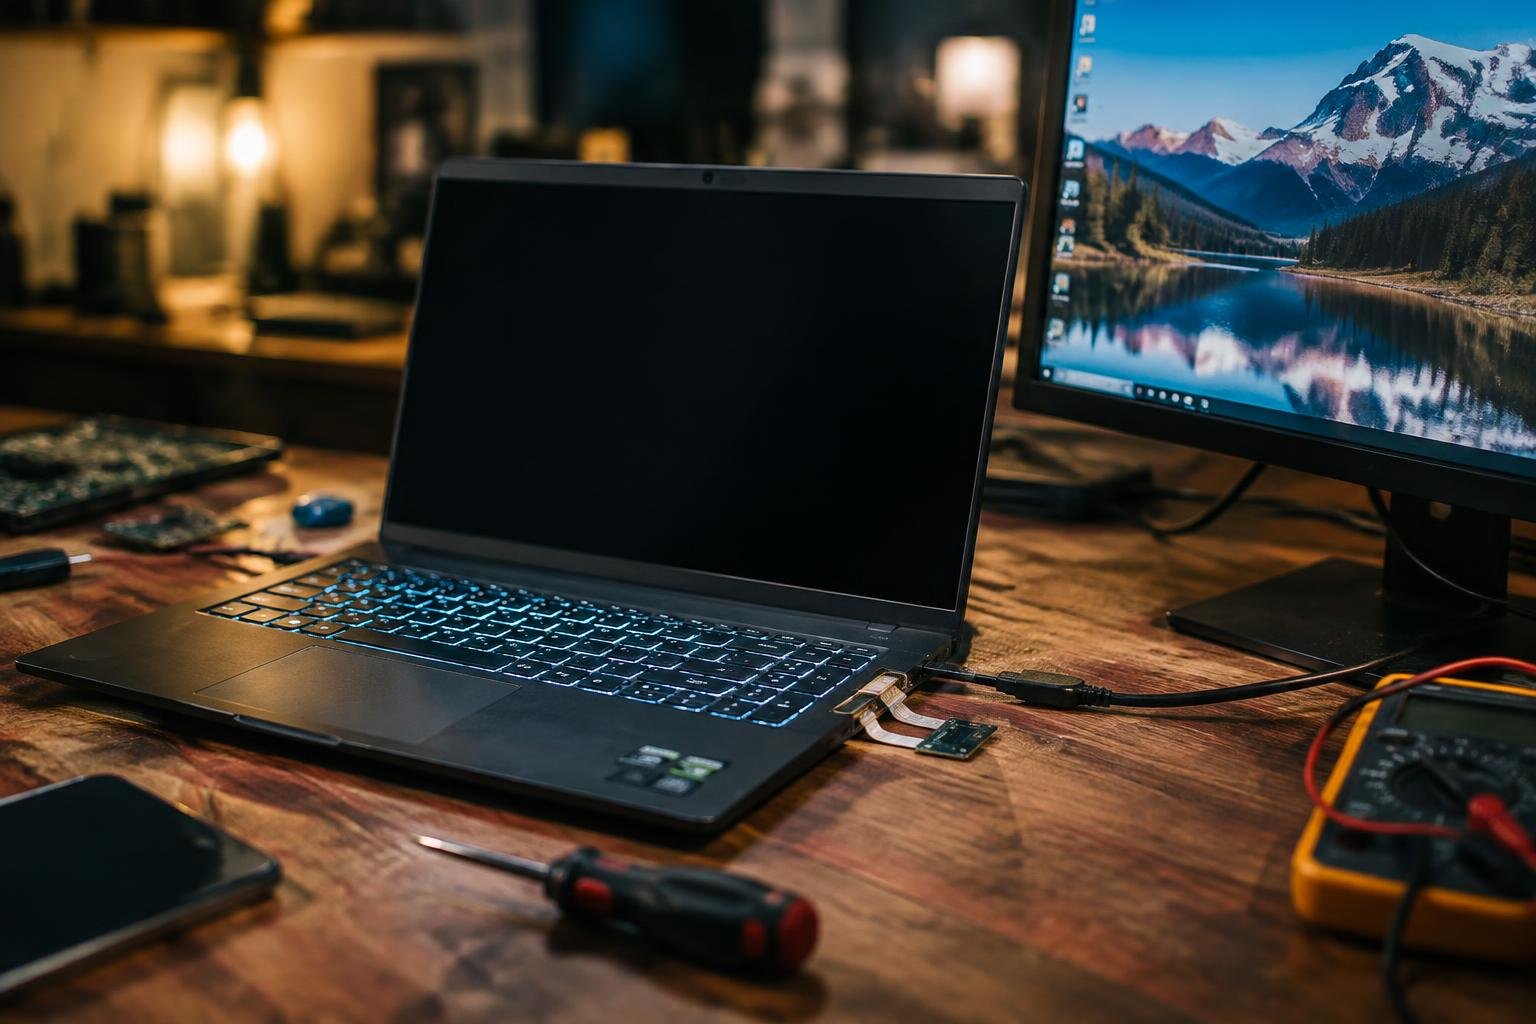
Your laptop screen goes black but the keyboard lights stay on, leaving you stranded without access to your work. This common issue can stem from hardware glitches, display settings, or power management errors. You don’t need advanced technical skills to diagnose it. With the right steps, you can identify and resolve the cause quickly, often in under ten minutes.
Key Takeaways:
- A black laptop screen with working keyboard lights often points to a display or graphics issue, not a complete system failure.
- Performing a hard reset can resolve power-related glitches that may be preventing the screen from turning on properly.
- Connecting to an external monitor helps determine whether the problem lies with the laptop screen or the internal graphics system.
- Reseating or replacing RAM modules can fix display issues caused by loose or faulty memory connections.
- A corrupted BIOS or loose internal screen cable might be the culprit, and resetting the BIOS or checking the display wire can restore normal function.
The Hard Reset
Power cycling your laptop forces trapped static energy out of the system, which can silently interfere with normal startup functions. This reset reaches components that a regular reboot doesn’t touch, clearing minor electrical hiccups that may prevent the screen from powering on. Even when the display stays dark, the keyboard lights responding means the machine has some power, making this step essential. A full discharge followed by a fresh charge often restores proper function.
Pull the Battery
Your laptop holds residual charge even after shutting down, and that leftover energy can block a clean restart. Unplug the charger, then power down the device completely. If your model allows, remove the battery to break all power connections. This step ensures every component fully powers off. Wait about 15 seconds before reinserting the battery. Restoring power this way resets internal circuits and often resolves hidden power conflicts affecting the display.
Hold the Button
After reconnecting the battery and charger, press and hold the power button for 30 to 60 seconds without letting go. This extended press drains any remaining static from the motherboard and forces the system into a deep reset. You won’t see any screen response, but the internal capacitors discharge during this time. Release the button, then tap it normally to restart. Many users find the screen returns after this simple yet effective procedure.
The External Monitor
Connecting your laptop to an external monitor can quickly clarify whether the issue lies with the display or the video output. If the screen remains black but the system boots normally on an external display, the graphics card is functioning and sending a signal. This test removes doubt about GPU failure and directs focus toward the built-in screen, cable, or lid sensor. You don’t need special equipment-just a working monitor and the appropriate video cable.
Plug the Cord
You’ll need to connect your laptop to an external monitor using an HDMI, DisplayPort, VGA, or USB-C cable, depending on available ports. Make sure the monitor is powered on before establishing the connection. Plug one end securely into your laptop and the other into the display. A loose connection can mimic hardware failure, so verify both ends are seated fully. Some laptops automatically mirror displays once detected.
Toggle the Display
Your laptop may not switch to the external screen automatically, even with a solid connection. Press the function key tied to display output-often labeled with a monitor icon and paired with the Fn key. This cycles through display modes: laptop only, external only, or both. Try multiple presses if the screen doesn’t change immediately. Some systems take a few seconds to detect and adjust to the external display mode.
The Memory Sticks
Loose or dusty RAM modules often cause a black screen even when the laptop appears powered on. Your laptop relies on a solid connection between the memory sticks and the motherboard, and any disruption can prevent proper booting. Reseating the RAM gives you a chance to restore that essential link. Power down completely, unplug the device, and remove the battery if possible before proceeding.
Open the Hatch
You’ll need access to the memory compartment, usually located on the underside of the laptop. Locate the panel marked with a memory icon or consult your device’s manual for the exact position. Use a small Phillips screwdriver to remove the screws securing the cover. Lift the panel gently to expose the RAM slots. Handle the internal components with care to avoid damaging sensitive circuitry during the process.
Rub the Gold
Take the RAM stick out by releasing the retaining clips on both sides. Look closely at the gold contacts for any dark spots or film. Using a clean, dry lint-free cloth, gently rub along the contacts to remove oxidation or debris. Avoid using liquids or abrasive materials. Once cleaned, firmly reinsert the stick until the clips snap into place, ensuring full seating for a reliable connection.
The BIOS Reset
Resetting the BIOS can resolve a black screen when the keyboard lights remain active, as a corrupted or misconfigured BIOS chip may prevent proper display initialization. Your laptop’s firmware controls early startup processes, and a reset returns these settings to factory defaults, potentially clearing the confusion causing the blank screen. This process does not affect your personal files but reinstates core system configurations, allowing the laptop to reboot cleanly and restore screen functionality if the issue stems from a firmware-level error.
Press the Keys
Press the keys to perform a BIOS reset only if your laptop allows keyboard-based recovery methods. Some models support key combinations like F2, F10, or Del during startup to access the setup menu even with a dark screen. Holding the correct key immediately after powering on gives you a chance to interrupt the boot process and reset BIOS settings manually. Keep pressing it in quick succession until you see signs of display activity or hear a startup tone.
Remove the Coin Battery
Remove the coin battery to fully discharge residual power from the motherboard and clear any corrupted BIOS data. Locate the small, round battery on the logic board after opening the laptop’s back panel. Take it out and wait for about five to ten minutes before reinserting it. This physical reset often corrects deep-seated firmware glitches that prevent the display from initializing, even when other components remain powered.
The Screen Wire
Damage inside the hinge area can interrupt the connection between your laptop’s motherboard and display, even if the keyboard lights remain active. Over time, repeated opening and closing may fray or break the delicate video cable running through the hinge. You’ll need to carefully inspect both hinges for visible gaps, cracks, or misalignment that suggest internal stress. While you can’t see the actual wiring without disassembly, unusual resistance or wobbling when moving the screen might indicate internal damage. The final determination on whether this is the root cause comes later, after further evaluation.
Pry the Plastic
You’ll need to gently remove the plastic bezel surrounding the screen to access the display cable connections. Use a plastic spudger or a flat tool wrapped in cloth to avoid scratching the casing. Start at a corner and work your way around, applying even pressure to release the clips. This strip often holds the LCD in place and covers the cable anchors near the hinges. Be patient-forcing it can break retention tabs, making reassembly difficult. Once off, you’ll have direct access to the connectors linking the screen to the system board.
Push the Plug
The display cable plugs into the back of the LCD panel and runs down to the motherboard through the hinge. After removing the bezel, check if the connector at the screen end appears loose or partially detached. Unplug it completely, inspect for bent pins or debris, then firmly reconnect it, ensuring it clicks into place. Sometimes, a slight jolt or drop can unseat this connection enough to kill the display while leaving internal components powered. A secure fit here can restore image transmission if the cable itself remains intact.
To wrap up
You now have a clear path to resolve a black laptop screen when the keyboard lights remain on. By systematically checking power responses, testing with an external display, reseating memory modules, resetting BIOS, and inspecting internal wiring, you can isolate the root cause. Most issues stem from display settings, GPU output, or loose connections-problems you can address without replacing the entire machine. Applying these steps in order increases your chances of a fast, cost-effective fix.
FAQ
how much does it cost to fix a black laptop screen with working keyboard lights?
Most DIY fixes cost nothing beyond your time, as they involve reseating components or resetting settings. Professional repair costs $100 to $300 if the screen or motherboard is damaged, which depends on the model and service provider.
how long does it take to fix a laptop that turns on but the screen stays black?
Basic troubleshooting steps take 10 to 30 minutes total, including reseating memory and resetting BIOS. More involved fixes like replacing a screen or diagnosing a GPU issue can take several hours and may require parts ordering.
is it safe to remove the laptop battery and hold the power button?
Yes, disconnecting power and holding the button for 30 seconds safely discharges residual electricity. This is safe for most laptops but avoid doing it daily, as repeated static discharge can stress components over time.
what should i try if cleaning the ram doesn’t fix the black screen?
Try connecting an external monitor to see if the video output works, then test the BIOS reset. If those fail, the issue may be the screen, inverter, or motherboard, which requires professional diagnosis.
can a black screen with working keyboard lights mean the laptop is not broken?
Yes, a black screen with lit keyboard lights often means the laptop is running but the display isn’t receiving signal. This can stem from loose cables, RAM issues, or power management settings rather than permanent hardware failure.
 Previous Post