
Common BIOS Problems in Modern Laptops Explained
Most BIOS issues in modern laptops stem from corrupted firmware, incorrect settings, or hardware conflicts; you should diagnose boot errors, apply tested firmware updates, reset configuration, and inspect components to restore reliable operation.
Key Takeaways:
- Corrupted BIOS or interrupted firmware updates can brick a laptop and prevent booting; use official update tools, stable power, and vendor recovery options (USB flashback or recovery mode) when available.
- Outdated BIOS can cause hardware incompatibilities, missing features (NVMe, CPU microcode) and instability; check vendor changelogs and apply updates that target your hardware or security fixes.
- Wrong BIOS settings, a dead CMOS battery, or Secure Boot/TPM misconfiguration can block OS installs or cause erratic behavior; reset CMOS, clear passwords via vendor procedures, and test Secure Boot/TPM toggles while troubleshooting.
Firmware Corruption and Update Failures
Updating BIOS can brick your laptop if power fails or a bad image is applied; you must verify vendor firmware and follow recovery steps to reduce risk.
Identifying Symptoms of a Bricked Motherboard
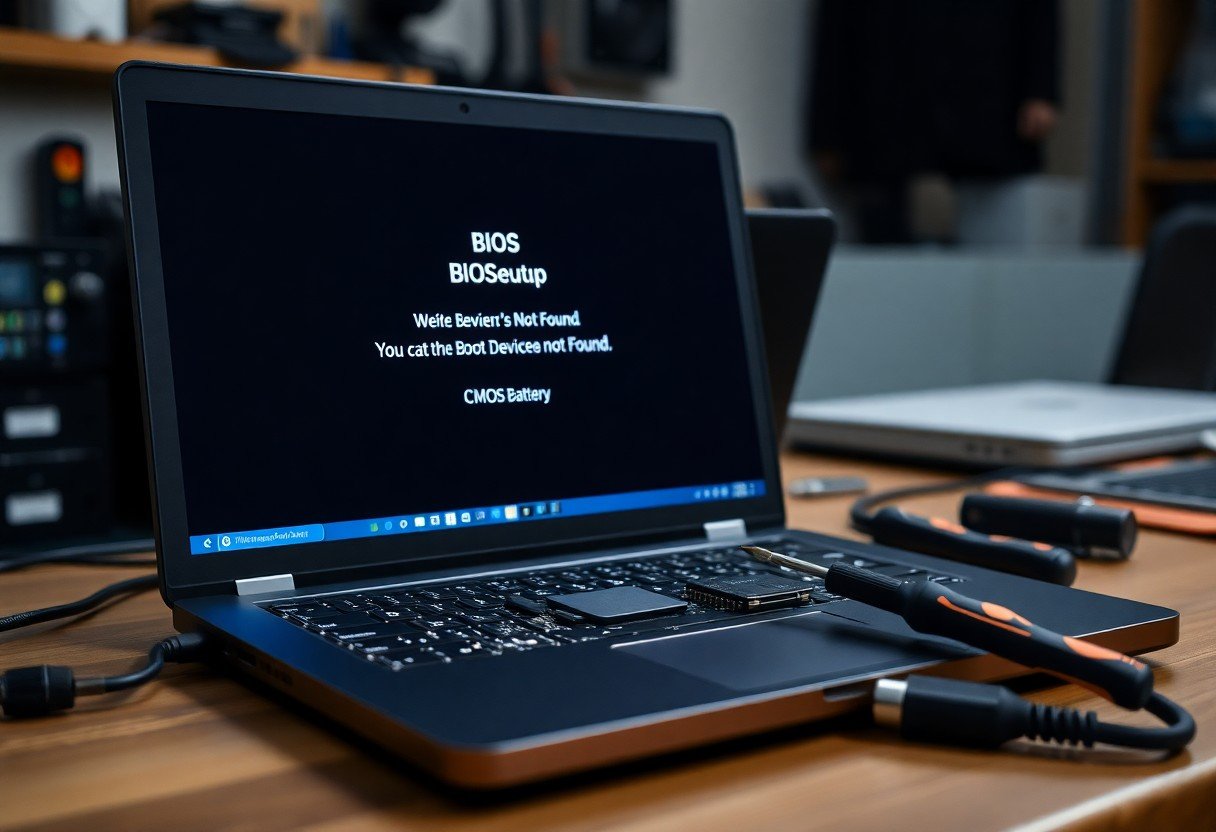
Boot failures, absence of POST, continuous beep codes or unresponsive power LEDs often mean your motherboard is bricked; you should test with minimal hardware, try a CMOS reset, and consult support for salvage options.
Emergency Recovery Procedures for Corrupted UEFI
Use vendor recovery tools, a USB-flashed firmware image, or the motherboard’s BIOS recovery jumper to restore a corrupted UEFI; carefully follow the manufacturer’s documented sequence to avoid further damage.
If you face corrupted UEFI, begin by downloading the exact firmware for your model and verifying checksums; use a clean, formatted USB and reliable cable while connected to AC power. Start recovery using the vendor’s documented key combo or BIOS flashback feature, documenting each step. Consider using a hardware SPI programmer only if you can identify the BIOS chip and have experience; otherwise contact manufacturer support to avoid warranty voids.
Security and Access Restrictions
Access controls in BIOS can block changes, boot devices, or OS installs; you should check firmware settings, consult manufacturer recovery steps, and verify physical tamper switches. If corporate policies enforce restrictions, coordinate with IT to avoid bricked systems.
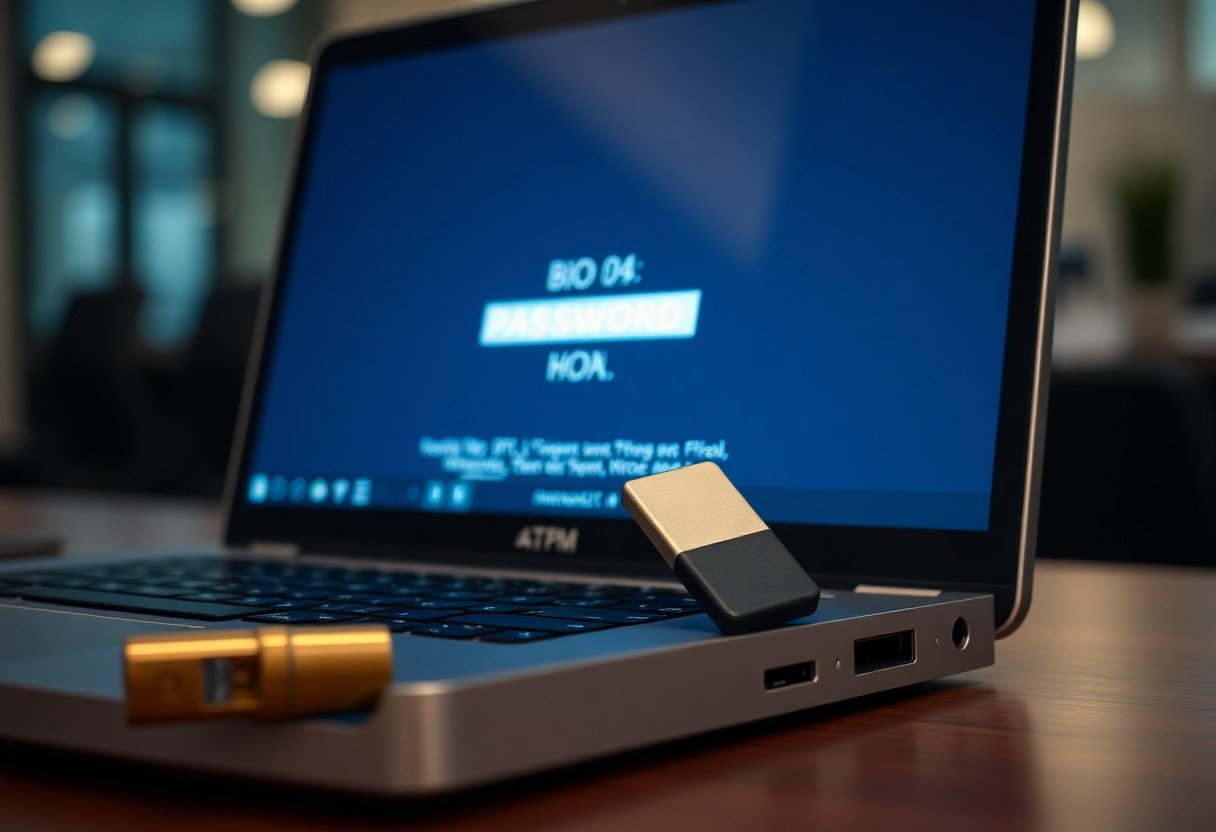
Resolving Forgotten BIOS Supervisor Passwords
Recovering a forgotten supervisor password often requires proof of ownership and vendor tools; you can use manufacturer recovery codes, service-authorized EEPROM resets, or a signed BIOS reset procedure. Avoid DIY jumper or CMOS tampering unless guided by support to prevent warranty voids.
Troubleshooting Secure Boot and TPM 2.0 Conflicts
Conflicts between Secure Boot and TPM 2.0 can stop OS loads; you should check firmware versions, ensure correct key enrollment, and confirm OS support. Temporarily disable Secure Boot only for testing, and re-enable it after resolving signing or firmware mismatches.
Check firmware and OS logs first: you should update BIOS and Intel/AMD microcode, and review Secure Boot key databases (PK, KEK, db, dbx). If TPM reports ownership or version errors, you must back up keys, suspend BitLocker or disk encryption, then clear and reinitialize TPM only after exporting recovery data. For Secure Boot issues, you can test with Microsoft or vendor keys, re-enroll custom keys, and consult vendor firmware notes for compatibility patches.
Hardware Recognition and Interface Errors
BIOS-level interface mismatches often cause devices to be hidden or misreported; you should verify interface mode (AHCI/RAID), check BIOS device lists, update firmware, and test cables or adapters to isolate I/O issues before assuming hardware failure.
Diagnostic Steps for Undetected NVMe and SATA Drives
Check M.2 seating, SATA power/data, BIOS drive priorities, and NVMe hotplug settings; you should boot into BIOS or a live USB to run lsblk or Disk Management and update storage controller drivers if drives remain undetected.
Correcting RAM Frequency and Timing Mismatches
Adjust XMP profiles, manually set frequency and primary timings in BIOS, and test stability with memtest86+ so you can avoid boot loops or slow performance caused by mismatched DIMMs.
If XMP causes crashes, you should read each DIMM’s SPD with CPU-Z or the UEFI viewer, then reduce frequency to the slowest module’s JEDEC value and copy its primary timings; increase DRAM voltage only to the vendor spec, run multiple memtest86+ passes, and try single-module boots or alternate slots to isolate failing sticks before replacing hardware.
Power Management and Thermal Configuration
Power profiles in firmware control sleep, wake, and charging thresholds; you should fine-tune ACPI options and wake timers to prevent unexpected shutdowns, optimize runtime, and align charging behavior with your usage patterns.
Addressing Battery Calibration and Charging Issues
Calibrating your battery using BIOS tools or a controlled full charge/discharge cycle can correct percentage inaccuracies; you should also enable smart charging, inspect EC firmware versions, and run hardware diagnostics if charging stalls.
Managing Fan Control and Overheating via Firmware
Fan curves exposed in firmware let you prioritize noise or cooling; you should set temperature targets, choose conservative ramp-ups for sustained loads, and update EC/BIOS when fan responses become unpredictable.
You can use firmware fan tests and sensor logs to identify failing bearings or incorrect temperature offsets; adjust PWM curves, swap between silent and performance profiles, and apply EC updates to fix erratic RPM behavior while monitoring thermals under stress to verify throttling thresholds.
Boot Sequence and Protocol Conflicts
Boot order mismatches and conflicting UEFI/Legacy settings can stop your system from finding the OS; you should verify drive priorities, disable unused boot paths, and match firmware mode to your installed OS to reduce protocol clashes.
Optimizing Boot Priority and UEFI/Legacy Mode Selection
Adjusting boot priority places your primary drive first and prevents delays; you must pick UEFI for modern installs or Legacy for older OS images, and you should disable legacy support when using secure boot to avoid conflicts.
Resolving “No Bootable Device” Errors
If the laptop reports no bootable device, check BIOS drive detection, confirm SATA/NVMe mode, and ensure the OS drive appears in firmware; you may need to reset settings or attach external media for recovery.
Check physical and firmware-level causes methodically: verify the drive is detected in BIOS/UEFI, confirm connectors or M.2 seating if accessible, and switch SATA mode between AHCI and RAID if the OS was installed under a different setting. If the drive appears but still won’t boot, repair the bootloader using your OS recovery environment or reinstall the boot manager with command-line tools. You should also run SMART diagnostics or boot from external media to image data before replacing the drive, and review vendor firmware notes for any model-specific requirements affecting NVMe or encrypted disks.
CMOS Battery and Persistence Issues
CMOS batteries failing cause BIOS settings to reset, loss of boot order, and incorrect hardware detection; you may find settings lost after shutdown and the system clock drifting, producing boot errors or checksum warnings.
Indicators of a Failing CMOS or RTC Battery
Symptoms include wrong system time at boot, repeated CMOS checksum errors, BIOS forgetting custom settings, and prolonged POST; you will often see prompts to enter setup or restore defaults on every startup.
Fixing Persistent System Clock and Checksum Errors
Reset BIOS defaults and replace the CMOS battery to stop clock drift and checksum warnings; you should also update firmware and confirm the battery is seated and contacts are clean to reduce recurrence.
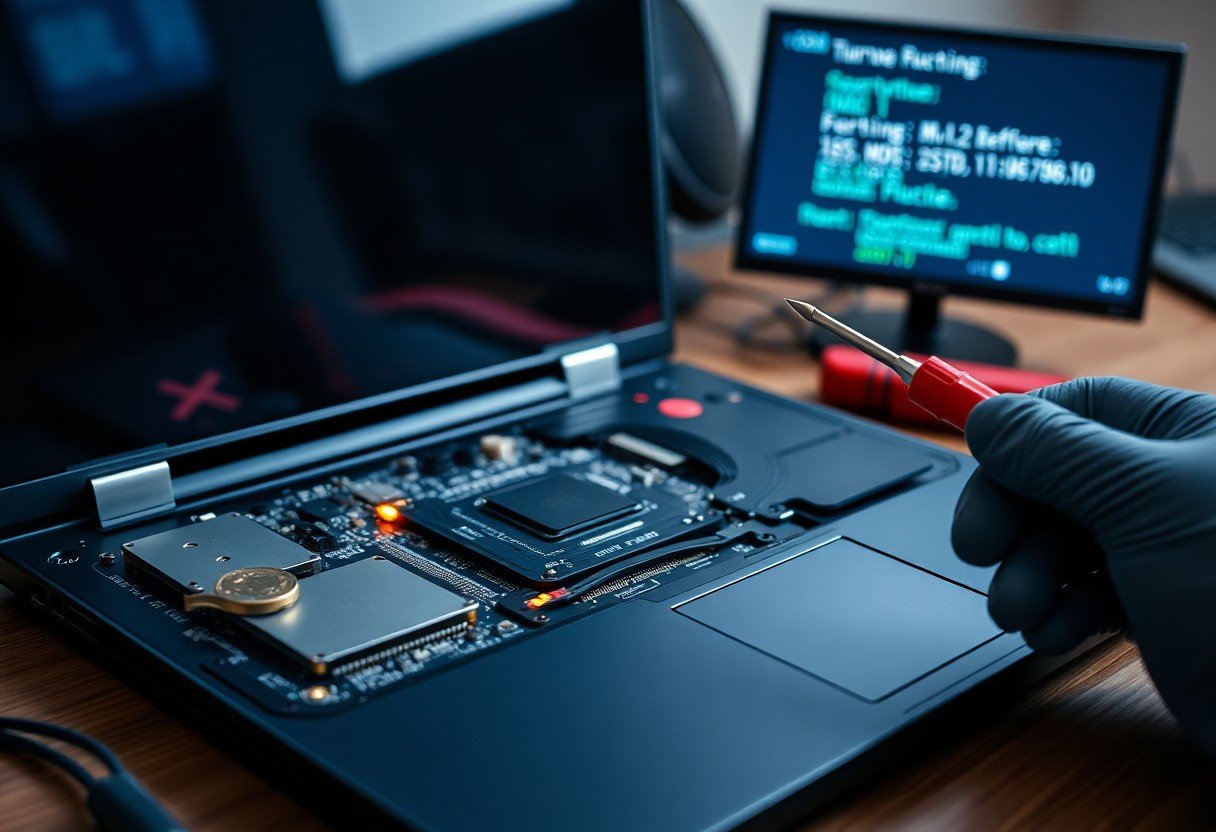
Replace the coin cell with the exact spec (commonly CR2032) while the laptop is powered down and AC removed; ground yourself, note polarity, gently swap the cell, then boot into BIOS to set date/time and reapply custom settings. If errors continue, reflash firmware or seek service, since corroded contacts or a failing RTC chip can require board-level repair.

Conclusion
Presently you can address common BIOS issues-corrupted settings, failed updates, and hardware conflicts-by following tested steps; consult Common issues with BIOS/firmware and how to fix them for precise procedures to restore boot stability and update safely.
FAQ
Q: What are the most common BIOS-related boot failures in modern laptops?
A: Common causes include failed BIOS updates, corrupted firmware images, incorrect UEFI/Legacy mode settings, and misconfigured boot order. Secure Boot can block unsigned OS loaders or drivers, preventing boot. Drive mode mismatches (AHCI vs RAID) or disabled SATA controllers often hide the system disk. External USB devices and peripherals can override the intended boot device. Troubleshooting steps include removing external media, entering firmware setup to check boot order and drive detection, restoring optimized defaults, resetting CMOS if settings are stuck, and using vendor-provided BIOS recovery or update utilities on a USB stick.
Q: Why does a BIOS update sometimes “brick” a laptop and how can it be recovered?
A: A BIOS update can brick a laptop if power is lost during flashing, if the wrong firmware image is used, or if the update process is interrupted by a crash. Some boards include a backup firmware or dual-BIOS that will automatically roll back; consult the vendor guide for recovery key combinations or USB recovery procedures. If no automatic recovery exists, reprogramming the SPI flash with a hardware programmer or sending the unit to an authorized service center may be required. Preventive measures include using a charged battery plus AC power, verifying the exact model/part number, and following vendor instructions precisely.
Q: How do Secure Boot and TPM settings cause startup failures after OS or hardware changes?
A: Secure Boot blocks unsigned bootloaders and drivers, so changing the boot medium or reinstalling an OS with unsigned components can stop the system from booting. TPM-bound disk encryption (for example, BitLocker) will prevent access if the TPM state is cleared or if firmware settings change without exporting recovery keys. Switching between UEFI and Legacy/CSM mode can make GPT/UEFI installations unbootable. Best practice is to suspend or decrypt disk encryption before making firmware changes, export recovery keys, confirm Secure Boot certificates if installing custom software, and restore the original boot mode after hardware changes.
Q: What causes BIOS configuration corruption and what safe reset options exist?
A: CMOS battery failure, power surges, interrupted updates, and firmware bugs can corrupt firmware configuration or cause settings to revert. Most laptops allow loading optimized defaults from the firmware setup utility; that should be the first step when settings appear wrong. If the firmware menu is inaccessible, perform a clear-CMOS by using the motherboard jumper or removing the coin-cell battery after disconnecting AC and main battery, then wait for capacitors to discharge. After a reset, reconfigure boot order, SATA mode, system time, Secure Boot, and TPM settings to match the installed OS and hardware.
Q: How serious are BIOS/UEFI malware infections and how should they be handled?
A: Firmware-level malware is rare but dangerous because it can persist across OS reinstalls and tamper with boot processes. Indicators include unexplained changes to firmware settings, persistent unusual boot behavior, failed firmware integrity checks, and unknown services appearing after reinstall. Mitigation steps include applying vendor-signed firmware updates, verifying firmware checksums where provided, enabling Secure Boot, and setting a supervisor/password protect option in firmware. If compromise is suspected, obtain a clean vendor reflash or have the SPI chip reprogrammed by an authorized repair center, reinstall the OS from trusted media, and rotate any credentials or encryption keys that may have been exposed.