



How to Fix Laptop Screen Color Distortion and Display Issues
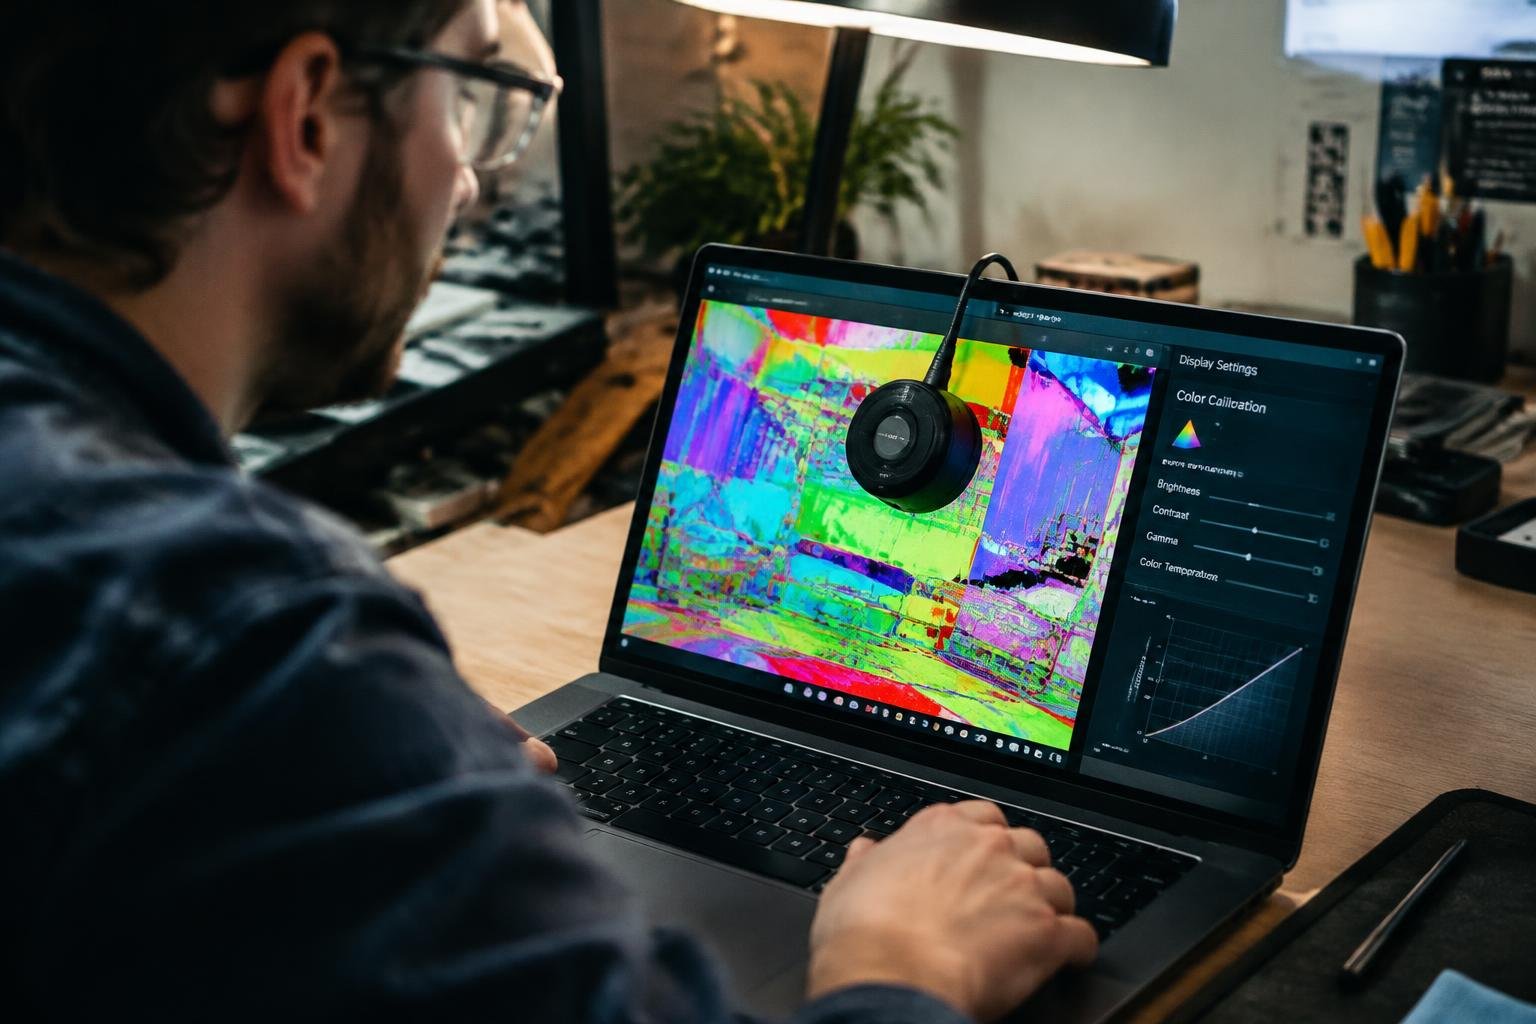
Unexpected color shifts, flickering, or washed-out images can make your laptop difficult to use and may point to a setting, graphics driver, or display hardware problem. Before replacing the screen, note whether the distortion appears in screenshots, on an external monitor, or only as you move the lid. Those details help narrow the fault.
Key Takeaways:
- Color casts, flickering, lines, and dim areas often point to different causes, so note exactly what appears and whether it changes with screen position.
- Turn off Night Light, color filters, and manufacturer display presets before adjusting brightness, color temperature, or the graphics driver.
- Connect the laptop to an external monitor: a clean external image points toward the laptop’s screen, display cable, or backlight, while matching distortion on both displays points toward software or graphics hardware.
- Run the laptop’s built-in display diagnostics and inspect the screen hinge area for changes caused by movement, which can indicate a loose or damaged display cable.
- Use the manufacturer’s service procedure for screen or cable repairs; avoid opening a laptop with a swollen battery or a cracked display panel.
Identify the Screen Color Distortion
Start by describing what looks wrong and where it appears on the display. A color cast across the whole screen differs from a narrow band of lines, while flickering has a different pattern from a steady brightness shift. Note whether text, photos, and interface elements are all affected or only particular colors. These distinctions give you a clear description of the symptom, such as a blue tint across the desktop or a pulsing patch near one corner.
Check for discoloration, flickering, lines, and brightness changes
Look for a consistent color cast, such as whites appearing yellow or gray, and note whether reds, greens, or blues seem absent or muted. Flickering may affect the entire panel or appear as brief flashes; horizontal or vertical lines can remain fixed or shift across the image. Record whether brightness changes across the whole screen or in a defined area, such as a dim strip along the bottom edge.
Note when the issue appears and whether it changes with screen movement
Record whether distortion is present from startup, begins after sign-in, or appears only in a particular application. Note any relationship to screen movement, including whether colors or lines change as you adjust the lid angle. A symptom that appears only during video playback differs from one that remains visible on the desktop. Capture the affected screen with a screenshot, then note whether the distortion appears in that saved image.
| Symptom | What to record | Example description |
|---|---|---|
| Color cast | Hue and affected area | Whites look yellow across the screen |
| Flickering | Frequency and coverage | Brief flashes across the full panel |
| Lines | Direction and position | Fixed vertical lines near the right edge |
| Brightness change | Extent and timing | A dim band appears along the bottom |
Adjust Display Settings and Drivers
Software settings and graphics drivers control how your laptop renders color, sharpness, and motion. A change to a color profile, an unsupported display mode, or a faulty driver can make the image look washed out, tinted, or unusually blurry even when the panel is working normally. Review Windows or macOS display controls alongside the graphics utility supplied for your laptop, since those tools can apply separate adjustments to the same screen.
How to reset color profiles, resolution, and refresh rate
Start with the operating system’s display controls and select the panel’s recommended resolution, which is usually marked as the native setting. In Windows, open Color Management, choose the built-in display, and remove an unfamiliar profile or restore the default profile. Set the refresh rate to a mode listed as supported in Advanced display settings. On macOS, use Displays settings to restore the default resolution and review available color profiles.
Update or reinstall graphics drivers
Open Device Manager in Windows and inspect Display adapters to identify your graphics hardware, then install an updated driver through Windows Update or the laptop manufacturer’s support page. For systems with Intel, AMD, or NVIDIA graphics, use the package intended for the exact laptop model and operating system. If distortion began after a driver change, uninstall the current driver and reinstall a manufacturer-approved version, then restart the computer.
Tips for checking color filters and accessibility settings
Accessibility features can change the whole screen’s appearance without changing the display hardware. In Windows, open Settings, Accessibility, then Color filters, and turn filters off to test the image; also review contrast themes under Contrast themes. On macOS, inspect Accessibility, Display for Color Filters, Increase contrast, and Reduce transparency. Check keyboard shortcuts too, since Windows’ color-filter shortcut can toggle a filter unintentionally.
- Disable Night light or Night Shift while assessing a color cast.
- Turn off HDR temporarily if desktop colors appear faded.
- Set scaling to the operating system’s recommended value.
Test Hardware and Connections
Use controlled tests to isolate whether distortion originates in the laptop panel, its display cable, or the graphics hardware. Keep the same image visible during each test, such as a solid-color screen or a window with sharp text, so changes are easier to identify. Note whether the problem appears before the operating system loads, changes when the lid moves, or affects more than one display. Those patterns provide useful evidence about the failing component.
Connect an external monitor to compare displays
Connect an external monitor or television through HDMI, DisplayPort, or USB-C, then set both displays to show the same desktop image. If the external screen looks normal while the laptop panel remains distorted, the internal display assembly or its cable is the more likely source. Matching color shifts or artifacts on both screens point toward the graphics pipeline or its output. Test with a second cable or input where available, since a faulty connection can imitate a display fault.
Check for loose connections, panel damage, or overheating
Watch the image as you slowly change the lid angle; flickering or color bands that respond to movement often indicate an intermittent panel cable. Inspect the screen under even lighting for cracks, pressure marks, bright patches, or ink-like spreading, which suggest physical panel damage. Keep vents clear and note whether distortion begins after the laptop warms up or during graphics-intensive work. A fan running loudly alongside visual artifacts can point to heat affecting internal components.
Factors that help distinguish a screen fault from a graphics-card issue
Look for where and when the defect appears. A fault confined to the built-in display, especially one that changes with lid position, typically implicates the panel or its cable. Artifacts visible on an external monitor as well as the laptop screen are more consistent with graphics hardware or shared video processing. Distortion present in the firmware setup screen also rules out many operating-system causes. Record whether the defect affects one display, both displays, or only particular graphics workloads.
| Test result | Likely area | Useful clue |
|---|---|---|
| External display is normal | Panel or internal cable | Built-in screen remains distorted |
| Both displays show artifacts | Graphics hardware or shared video processing | Defect appears on separate outputs |
| Image changes with lid angle | Display cable or panel connection | Flicker responds to hinge movement |
| Distortion appears as the laptop heats up | Thermal or internal hardware fault | Symptoms follow sustained use |
Choose the Right Fix
Match the repair to the symptom and the tests that reproduce it. A tint that appears only in one application points toward that program’s color profile or rendering settings, while distortion that remains across applications and on an external monitor suggests a graphics or system-level fault. A laptop panel that shows lines or color shifts only as you move the lid points more strongly to the display cable or panel. Use the pattern, not the severity alone, to choose the next step.
- Use the same image to compare affected and unaffected displays.
- Record whether the distortion changes with lid position.
- Note any error messages shown by the graphics driver.
Fix software and configuration problems
Start with reversible changes when the display works normally in a screenshot or on an external monitor. Reset the affected application’s color settings, remove an unintended ICC profile through your operating system’s color management controls, and disable custom color filters or night-light features temporarily. If distortion began after a graphics driver update, install the laptop maker’s recommended driver or roll back to the prior version. Test each change separately, then verify the result after restarting the application.
Decide when professional screen or component repair is needed
Arrange hardware diagnosis when discoloration, flickering, or lines persist in the BIOS or on the manufacturer’s startup logo, where ordinary desktop settings are not active. A distorted external monitor alongside the built-in screen can indicate a graphics chip, motherboard, or driver fault, while a clean external image with a faulty laptop panel points toward the screen assembly or its cable. Stop using the display if the panel is cracked or shows spreading black areas, and request a written diagnosis before approving parts replacement.
Back up data and check warranty coverage before service
Before handing over the laptop, copy important files to an external drive or a trusted cloud account, since some repairs involve storage replacement or system resets. Check the warranty status using the manufacturer’s support site and serial number, then review whether accidental damage is covered; opening the case yourself can affect service eligibility under some terms. Photograph the screen fault and note when it occurs, such as during startup or after the lid moves, so the technician receives a useful symptom record.
Prevent Future Display Issues
Routine care reduces the chance that color shifts, flickering, and uneven brightness will return. Build a few practical habits into your laptop use: install trusted software updates, keep the chassis clear of heat sources, and handle the display without twisting the lid. A stable setup also matters, since repeated movement of a laptop on an uneven surface can strain its hinge and screen assembly. The table summarizes simple preventive measures and the parts they protect.
| Preventive measure | What it protects | Practical detail |
|---|---|---|
| Install verified updates | Display software compatibility | Use the laptop maker’s support utility or operating system update settings |
| Keep vents unobstructed | Internal display and graphics components | Place the laptop on a firm, flat surface |
| Close the lid gently | Screen panel and hinges | Remove objects from the keyboard before closing |
| Clean with a microfiber cloth | Screen coating | Apply no liquid directly to the display |
Keep drivers and operating system updates current
Schedule software updates through your operating system’s settings and install graphics drivers from the laptop manufacturer or graphics chip maker. Verified releases address compatibility problems between display hardware and software, while unofficial driver tools can install mismatched packages. Before a major operating system upgrade, confirm that your laptop model supports it and save your work. On Windows, use Windows Update or the manufacturer’s support application; on macOS, install updates through System Settings.
Protect the laptop from heat, pressure, and liquid damage
Set your laptop on a hard, level surface so its cooling vents remain open, and keep it away from radiators, direct sunlight, and hot vehicle interiors. Pressure on the lid can damage the LCD layers even when the outer glass or bezel looks intact, so avoid stacking books on a closed laptop or carrying it tightly packed against rigid objects. Keep drinks on a separate surface, and transport the computer in a padded sleeve.
Tips for safely cleaning and handling the screen
Use a clean, dry microfiber cloth to remove dust, wiping lightly in straight strokes rather than pressing on the panel. For fingerprints, dampen the cloth slightly with water or a screen-safe cleaner, never spray liquid directly onto the display, and follow the laptop maker’s care instructions. Hold the lid by its edges and open it from the center when possible; twisting one corner places uneven force on the hinges and screen assembly.
Summing up
Accurate diagnosis is the first step toward restoring a normal laptop display. Reset color profiles and night-light settings, install the correct graphics driver, and test the screen at different brightness levels. If distortion remains, connect an external monitor to distinguish a panel or display-cable fault from a graphics problem. Persistent lines, flickering, or color patches on the built-in screen often require professional hardware inspection, particularly when the image changes as you move the lid.
FAQ
How much does it cost to fix laptop screen color distortion?
The cost depends on whether the cause is a setting, graphics driver, cable, screen panel, or graphics hardware. Software fixes may cost nothing, while hardware repairs vary by laptop model and part availability; get a diagnosis and written estimate before approving a repair.
How long does it take to fix distorted colors on a laptop screen?
A settings or driver fix can take minutes, while diagnosing and replacing hardware may take longer. Repair time depends on the fault, parts availability, and service provider, so ask for an estimate after the laptop has been inspected.
Can fixing laptop screen color distortion damage my laptop?
Changing display settings or updating a graphics driver is generally low risk, but using untrusted driver downloads or opening the laptop can cause problems. Avoid physical repairs unless you have the right skills, and back up important files before taking the device in for service.
What is the most common mistake when troubleshooting a laptop display?
Replacing the screen before checking whether the problem is caused by software or graphics hardware is a common mistake. Compare the laptop display with an external monitor and review display settings first, but use professional diagnosis if the results are unclear.
Can I use an external monitor if my laptop screen has distorted colors?
Yes, an external monitor can provide a temporary alternative and help narrow down the cause. If its image looks normal, the built-in screen or its connection may be at fault; if both displays look distorted, software or graphics hardware may be involved.
Is it worth repairing a laptop with screen color problems?
Repair can be worthwhile when the fault is limited to a setting, driver, cable, or replaceable screen and the estimate fits your budget. Compare the repair cost with the laptop’s age, condition, and replacement cost, and check warranty coverage before paying.
Why do laptop screen colors change when I move the lid?
Colors that change as you move the lid can point to a loose or damaged display cable, though the symptom alone does not confirm the cause. Avoid repeatedly flexing the screen, and have the connection and panel checked if the problem persists.
 Previous Post